How to Construct a Room Divider Wall?
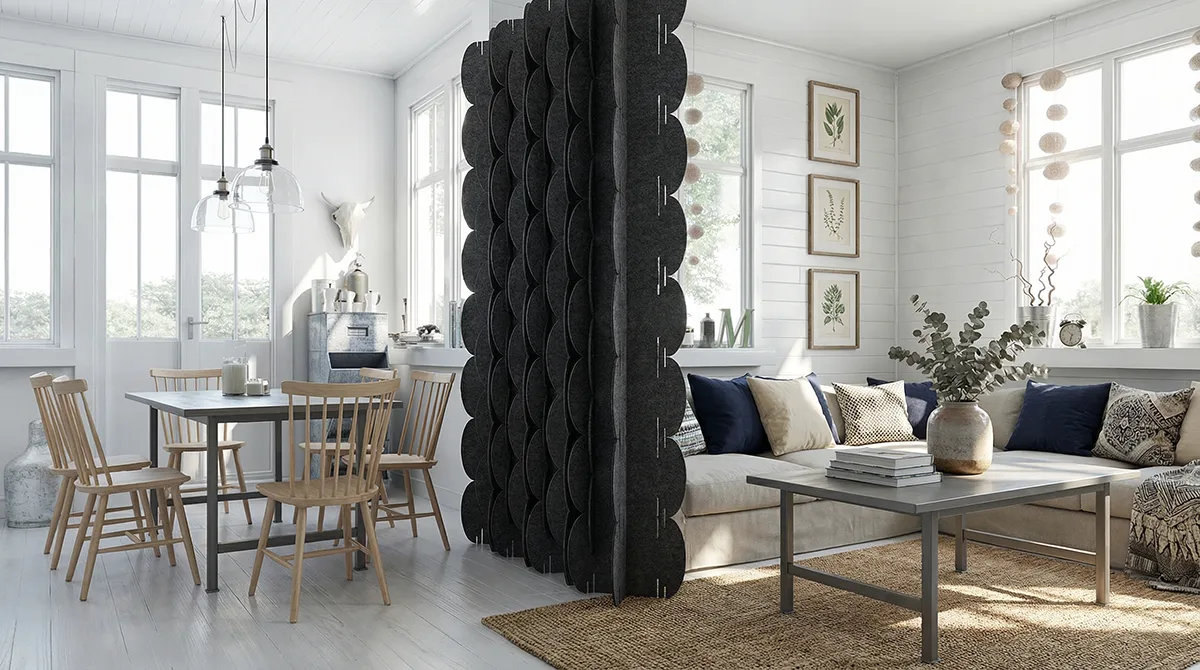
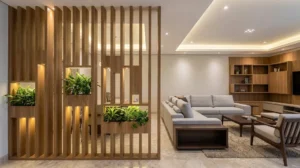
In Randstad, space is very limited. If you live in an older style Dutch apartment and have ever attempted to create a home office space or want to make a separate area for your baby, using a wall divider is a great means of redefining and changing the living space. In home improvement in the Netherlands, we have a certain style. We appreciate simplicity, clean lines, structural soundness, and the use of specific materials that suit our climate and building codes. Building a room divider wall construction is not just about putting a wall there. It is about creating better flow in your home. We will explain to you the most professional way of how to build a room divider wall step by step.What is a Room Divider Wall
An interior wall divider wall is an example of a non load bearing internal partition, which means you can use it to split a single room into multiple separate functional areas. In contrast to the solid masonry walls of the older Dutch style houses, modern inner room dividers are usually considered to be ‘drywall’ structures. The walls in the house are just for privacy and keeping the house looking nice. The walls are not used for keeping the house sturdy or balanced. These walls are used in the Netherlands to change open-plan “L-shaped” living rooms, into smaller and usable rooms.Planning the Guide Structure Of the Wall Partition
Before you build the wall, you will need to make a good plan. The Dutch call it the “golden rule”. The Dutch say “meten is weten”. The guide structure for the partition wall construction is the plan for how the wall will sit, and how the wall interacts with the floor, ceiling, and side walls.- Check before you build: Make sure there are no utilities in the wall. Newer Dutch homes have heating pipes that are found in the floor, and you should check the ceiling too for electrical wiring.
- Creating a wall: Use chalk to mark the walls to guide you in building.
- Door openings: If you want a door in the wall you are building, now is the time to decide how wide the door will be. Dutch door frames are not built to be the same size as the door. If you want a door in the wall you are building, now is the time to decide how wide the door will be. Dutch door frames are built with a door that is slightly smaller than the door.
Building Materials for Room Divider Walls
Building materials for room dividers in the Netherlands are slightly different than in other countries like the US and the UK. We focus on the building materials that last longer and are resistant to moisture.- Metal Studs vs. Wood: Most specialists in homes renovation prefer metal studs. They are perfectly straight and they are very light. Plus, they won’t warp with the humidity in the Netherlands.
- Plasterboard (Gipskartonplaat): 12.5mm boards are the standard. However, if you are building a divider in a bathroom or kitchen you must use the green moisture resistant boards.
- Insulation: Either stone wool or glass wool must be used. This is very important in order to have acoustic privacy between the newly created rooms.
- Fixings: You will need U-profiles for the floor and ceiling and C-profiles for the vertical studs.
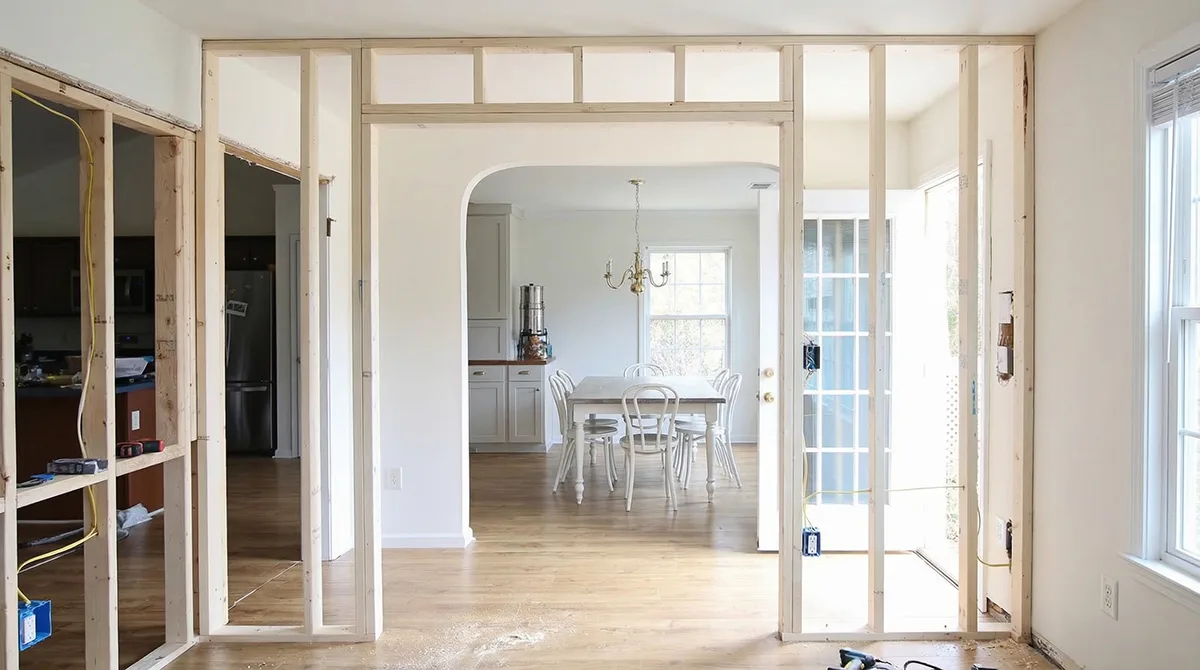
Room Divider Walls Framing
The room divider wall framing is the project’s “skeleton.” This is the most important step. If the frame is bent or crooked, the finished internal room divider wall will always look crooked.Why Framing is Important
The framing of the room divider walls holds everything else together, so it needs to be perfectly vertical, or plumb, as well as perfectly level (horizontal). In the Dutch building method, we use the term “rigid” framing. This helps to prevent plaster cracks later. Good framing also helps in the future when you may want to hang a large TV or bookshelf. The structure is built to hold that weight.What you Need to Know About Building a Partition Wall
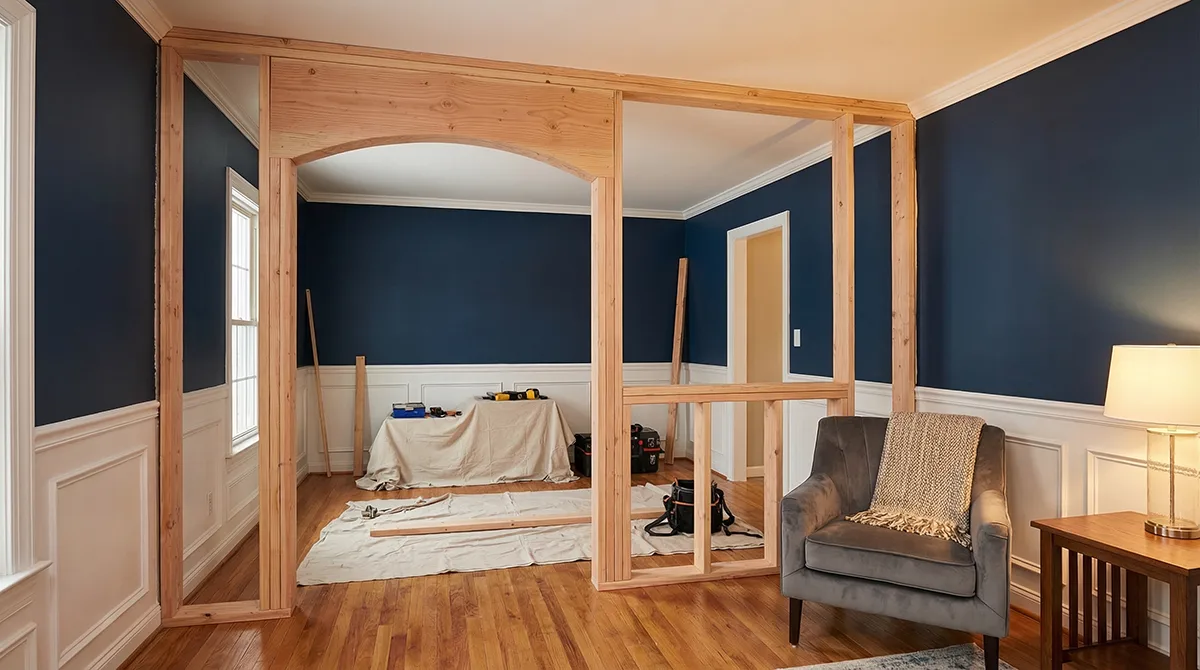
For those wanting to learn how to construct a room divider wall, here is the handy guide:Step 1: Fix the Track
Fasten the U-profiles to the floor and ceiling. In the Netherlands, many apartments have concrete floors, so you’ll need a hammer drill and “slagpluggen” (expanding anchors) to secure them. Pro tip: put some foam sealing tape on the back of the profiles if you want to add some soundproofing.Step 2: Place the Vertical Studs
Insert the C-profiles into the ground and ceiling tracks. They need to be spaced 60 cm apart (which is the Dutch standard plasterboard width) so the edges of the boards will be in the center of a stud.Step 3: Preparing for Heavy Load Items
Before you start taking out the frame, however, you should ‘wood back’ the metal studs by putting in some plywood at the desired height for any potential heavy loads (like pictures, etc) later.Step 4: Siding the First Side
Using the proper drywall screws for that, you should attach the drywall to one side of the frame (also, countersinking the screws a little will give you the chance to cover the heads later by plastering so the drywall will look even).Step 5: Insulation, Cables, and Stuff
Congratulations! You got one side closed off. You can now put the insulation in the frame, and this is the last chance for you to put the electrical conduits if you want outlets or switches in the wall.Step 6: Let’s Close the Wall
The second side can now also get some drywall, and with that, the wall is starting to actually look like it should.Dividing a Room with a Wall – Practical Benefits
The advantages of putting a wall up in a room go beyond simply creating a new room. It can completely change the way you live.- Improved Heating: With the current prices of energy in Western Europe, it is far more economical to heat two smaller rooms than one large one.
- Soundproofing: With good craftsmanship, a wall can muffle between 45-50 dbs. You can work in your office even if the kids are in the room next door watching TV.
- Value Increase: In cities such as Amsterdam and Utrecht, one of the easiest and quickest methods to boost property value is to change a “one-bedroom” unit into a “two-bedroom” unit.
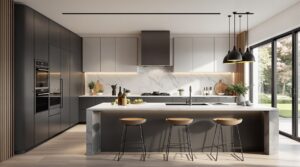
A Well-Built Divider Wall as a Part of a Thoughtful Interior
When designing a divider wall, go beyond the basics. In Dutch design, we love “strak”. After the boards are up, tape the joints and apply a thin coat of finishing plaster. For a perfect, high-end look, a professional CBS Renovation service is the right choice. With the help of professionals, it won’t be just functional: it will look amazing as well.Good Construction for Better Room Design
When it comes to internal divider walls, the primary focus should be on your life quality. Whether this is a DIY project or a commissioned job, the focus should be on the quality of construction: sound insulation, the right number of light switches, and the finish carpentry. A good design uses the house’s natural light. Think about putting in a “bovenlicht” (small glass window above the door) to help light flow from the windows in the room to the new internal space – quite a popular and intelligent design trick from the Dutc