
Adding Skylights: When, Why, and How
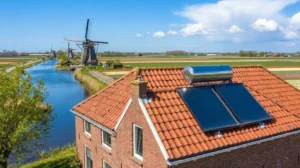
In Dutch homes, especially those with sloped roofs or deep layouts, adding skylights is often the easiest way to bring in more daylight. With short winter days and overcast weather, relying on vertical windows alone doesn’t always provide enough light. Skylights offer a simple, effective solution — they open up your space, improve air flow, and even help reduce electricity use.Reasons to Install Skylights in The House
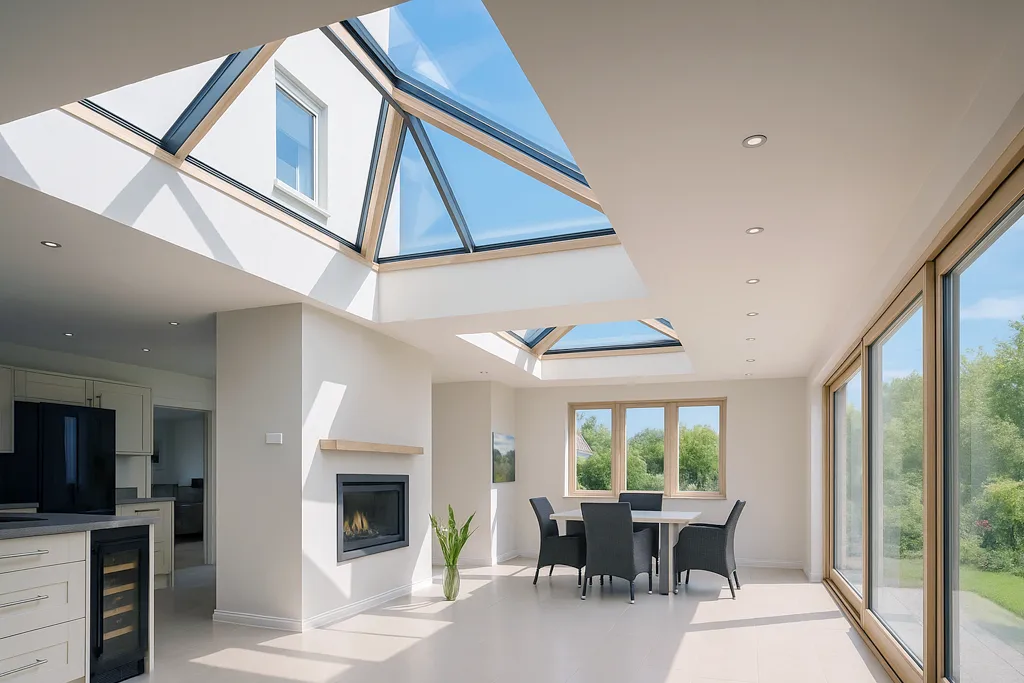
Many old Dutch buildings have narrow layouts, small windows, or deep rooms that don’t get enough light — especially during the darker months. That’s where skylights make a real difference. Whether you’re updating a top floor or just want to make a small space feel less boxed in, skylights are a smart, practical choice that fits well with both traditional and modern Dutch architecture.Skylights bring uplifting natural light into your home
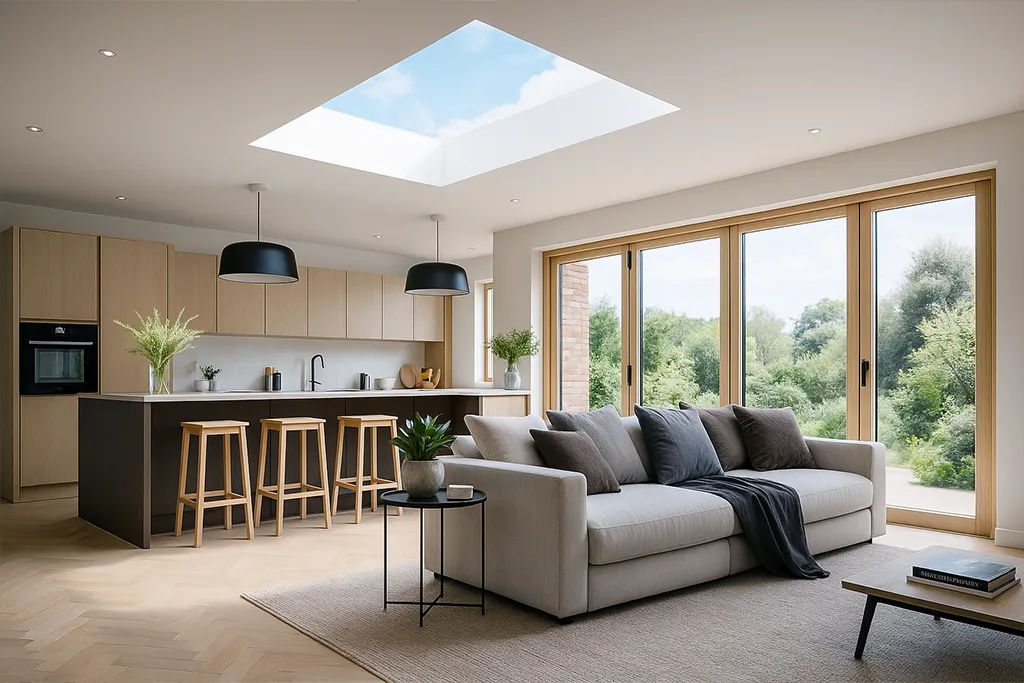
Most rooms depend on light coming in from the side. But with the new skylight installation, daylight comes from above — and it spreads more evenly. Even in rooms with small or shaded windows, a skylight can brighten the space for most of the day.Enhance small spaces with the illusion of size through skylights
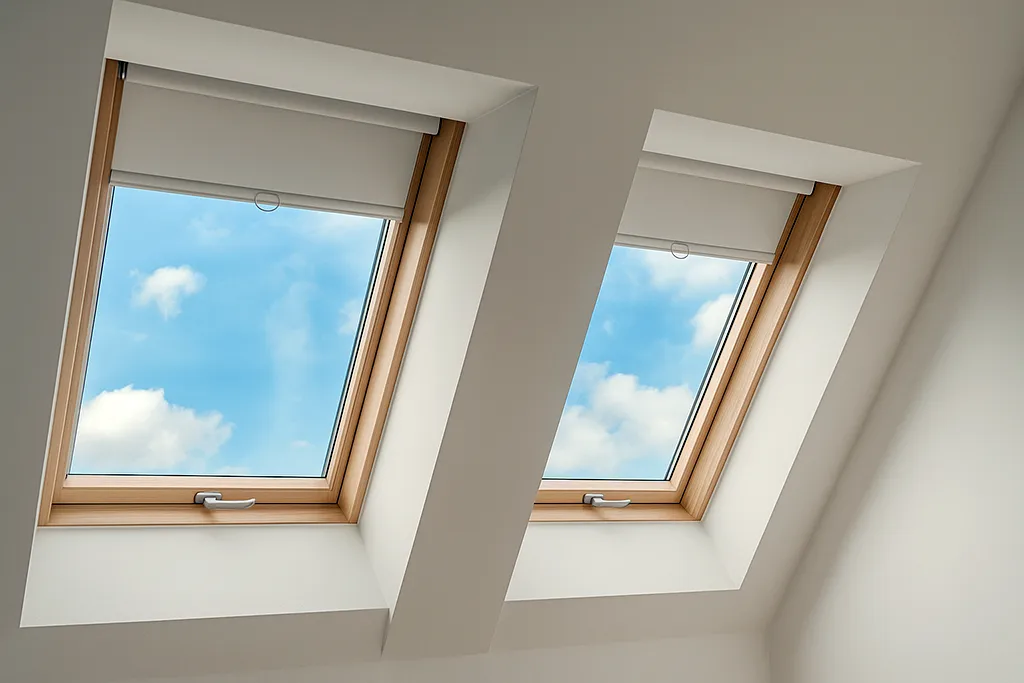
Dutch row houses and upper floors often have low ceilings and tight corners. Putting in skylights breaks up that closed feeling. It adds light, but also creates a sense of air and height that standard windows can’t provide.Ventilated skylights promote a fresher and healthier indoor environment
Bathrooms without windows are common in Dutch flats and upstairs spaces. Installing a vented skylight window brings fresh air and natural light — two things that help prevent mould and keep your home dry and healthy.Bask in serene views of the sky and surrounding greenery through skylights
Even if you live in the middle of the city, installing skylights in existing roof areas gives you a new kind of view — open sky, trees, stars. It’s an easy way for feeling more connected to the outside, without changing the house’s footprint.Boost your home’s energy efficiency with well-placed skylights
Heating and lighting are expensive — especially in the colder months. With thoughtful skylight placement on roof slopes that get steady daylight, you can reduce how much artificial light and heating you need during the day.Skylights illuminate your living space with balanced, natural light
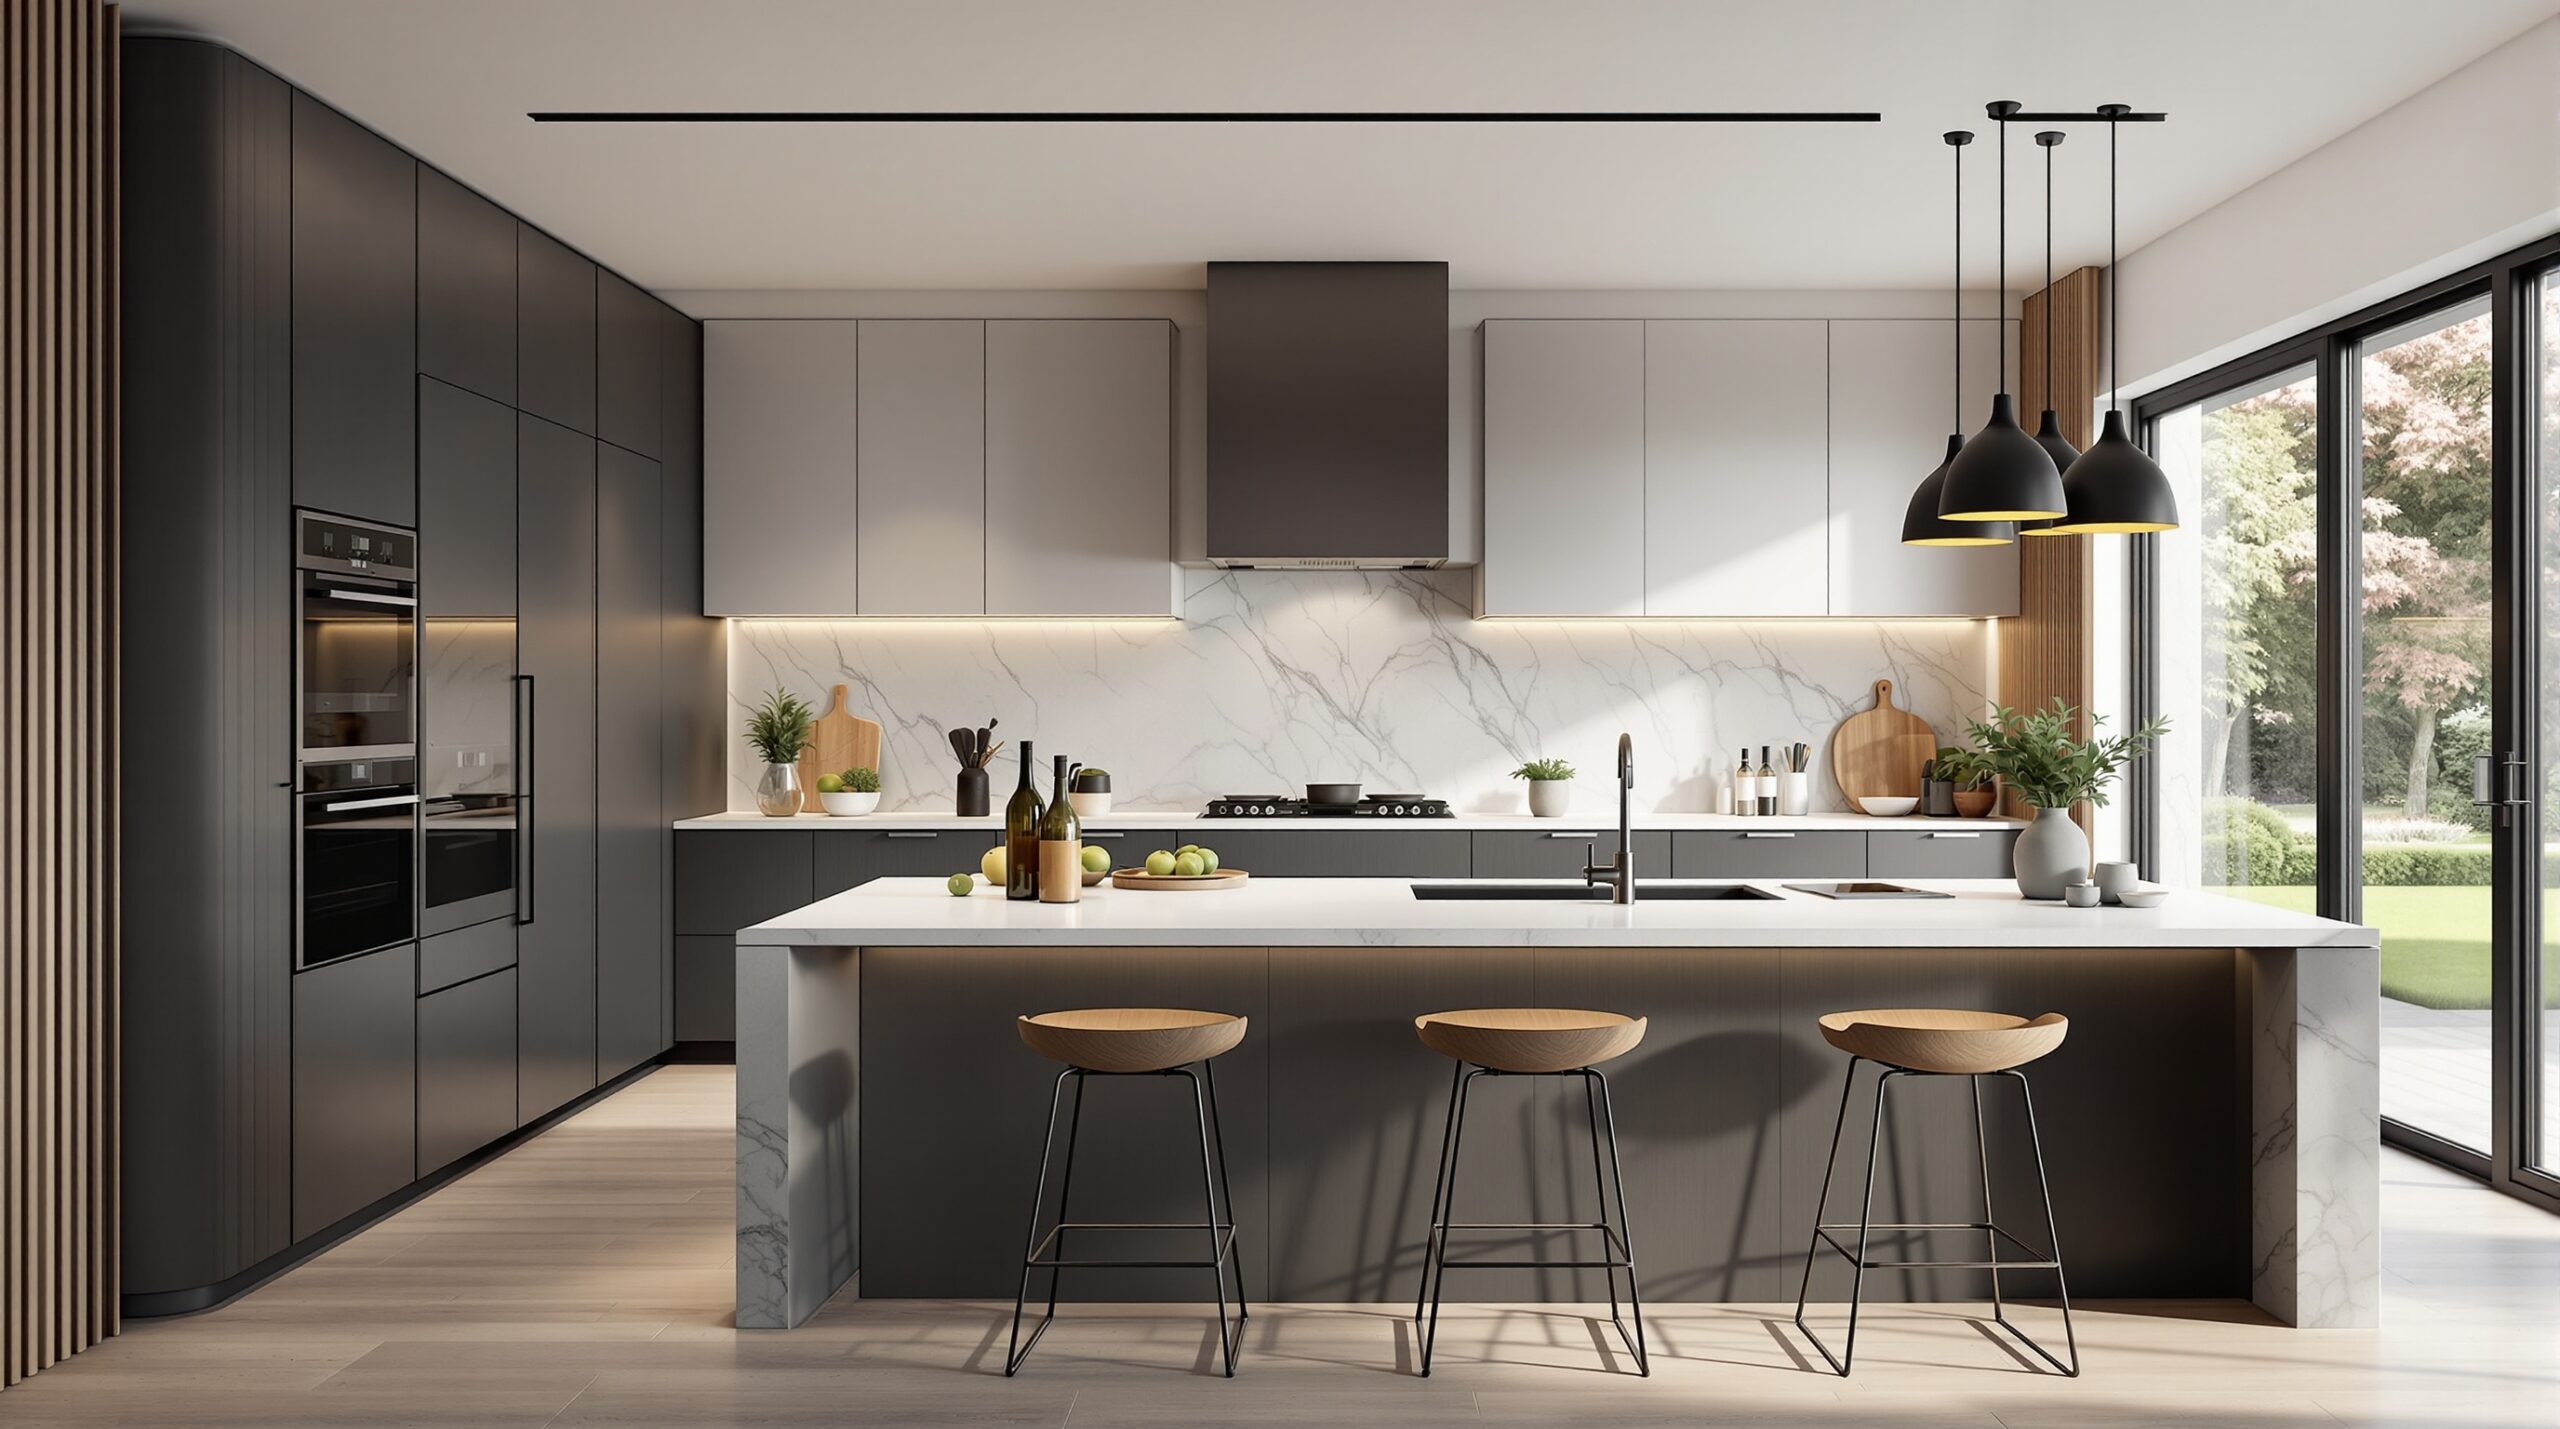
In homes with thick interior walls or sloped ceilings, regular windows often don’t do enough. Skylights solve this by letting light fall more directly into the room. The result is softer, more even lighting — especially helpful in work areas or kitchens.Transform dark corners into functional spaces with strategic skylight placement
Some parts of the house just never get used — a narrow attic corner, the end of a hallway, or a low-ceilinged nook under the eaves. They stay empty simply because there’s not enough light. Learning how to put a skylight in the roof above these areas can change that completely. Even a small opening can bring in daylight, making the space feel alive.Add a touch of elegance and character to your home’s design with skylights
Skylights aren’t just practical — they also look good. Whether your home is modern or more traditional, adding a skylight to your home gives it a clean, updated feel. The added detail brings a new layer of interest to your interior.Tips to Consider Before Installing
Skylights can improve the look and feel of your home, but like any building upgrade, they come with a few technical points to keep in mind. In the Netherlands, where roofs are often steep and the weather is damp for much of the year, proper planning is essential. Before adding skylights, it’s important to look at your roof’s structure, insulation, and condition to avoid problems later on.Ice dam formation
Winters in the Netherlands aren’t severe, but they’re unpredictable. A few snowy days followed by sunshine can cause melted snow to run down your roof — and freeze again near the edge or around the skylight. This creates an ice dam. Water gets trapped behind it, finds small gaps, and leaks inside. To prevent this:- Make sure that the attic is appropriately sealed;
- Avoid heat escaping through the roof by checking for gaps;
- Ensure the skylight is sealed tightly and has proper flashing around it.
Roof condition
Before deciding where to place skylights, examine your roof carefully. Many Dutch homes have older roof structures — timber that’s been in place for decades, possibly with signs of wear. Look for moisture stains, warped wood, or sagging in certain areas. These are indicators that something’s wrong underneath, even if the tiles look fine. If you install a skylight on a roof with hidden damage, the installation could fail later. Leaks might appear after the first storm, or the frame could shift if the timber underneath softens further. Replacing damaged sections now is far easier than opening the roof again in six months.Roof type
The kind of roof you have affects not just the materials needed, but the way the skylight is framed and installed. Dutch roofs are often covered with clay tiles, which are fragile and need to be lifted carefully. Other homes might use flat concrete tiles or even bitumen for low-slope roofs. Each surface reacts differently to cutting and sealing.
This also impacts roof skylight framing. On tiled roofs, the frame needs to sit flush without disturbing the surrounding rows. On flat roofs, the skylight must be mounted with a raised curb to prevent water pooling. It’s important to choose a skylight and flashing kit designed specifically for your roof material. Otherwise, sealing becomes unreliable — and leaks become more likely over time.
Roof slopes
The angle of the roof does more than direct rain — it controls how light enters and how water drains. A south-facing skylight in the Netherlands will receive strong sunlight during midday hours, which can overheat a room if the glazing isn’t treated. A north-facing one provides more even, diffused light, which is great for studies or bedrooms.
At the same time, the slope determines how water runs off. A low slope might allow rain to sit near the skylight edge, while a steep slope pushes it down quickly. For this reason, skylight placement on roof surfaces needs to take slope into account.
Too low, and water might stay around the flashing. Too steep, and direct sunlight might cause glare or overheating. It’s about balancing light and drainage based on your house’s orientation and daily use.
Reduced heating and cooling efficiency
Installing a skylight changes how your home handles temperature. Poor sealing or single glazing can turn the room into a hotbox in summer or let warmth escape in winter. While adding a skylight to your home cuts lighting costs, it may increase heating or cooling needs if done without proper insulation. To avoid that:
- Choose double- or triple-glazed skylights;
- Use low-E coatings that reflect heat;
- Seal and insulate the space around the skylight during interior finishing.
These steps reduce the risk of cold drafts or overheating — and help maintain comfort year-round.
Leaks
Leaks are the most typical issue with improperly installed skylights. It’s important to consider how the window connects to the roof. Flashing, waterproof membranes, and the right sealants are all crucial. If the edges aren’t properly finished, rain might get in and lead to damage. Hiring a skilled Renovation Company with experience in installing skylight windows makes all the difference.
How to Install Skylight
Installing a skylight is more than just cutting a hole in the roof—it’s a process that demands careful planning and precise execution, especially in the Netherlands where roofs must withstand wind, rain, and occasional snow. Below is a detailed, practical guide on the steps involved, along with useful tips on how do you install a skylight properly.
Step 1: Measure the pitch of your roof
In most Dutch houses, roof slopes are somewhere between 30 and 45 degrees. That’s ideal for roof skylight framing — steep enough for drainage, but not too sharp for light control. You can use a simple angle finder or place a spirit level flat across the roof and measure the rise over a set distance. Knowing this angle helps you choose a skylight model that fits well and drains properly
Step 2: Plan skylight placement
Where to place skylights depends on how and when you use the space. Think about what part of the room needs more daylight. In a kitchen, you might want light above the worktop. In a hallway, centre placement usually works best. Try to avoid placing the skylight directly under trees or near chimney stacks — they cast shade and can make the roof messier. And always check the rafter layout. A skylight should fit neatly between them to avoid cutting into the structure.
Step 3: Choose the right skylight type and size
There is no universal solution here. For ventilation in a bathroom, go with an openable skylight. For a dark corridor, a fixed one is fine. Measure the room and aim for a size that brings in enough light without overheating the space.
A skylight that’s too big on a south-facing slope can create a greenhouse effect in summer. A smaller one placed well can do more than a big one in the wrong spot. This is where good planning pays off — smart adding skylights decisions start with real measurements and use.
Step 4: Prepare the roof for installation
Start by removing the tiles or slates around the opening. Take care — Dutch roof tiles are often clay and can break easily. You’ll need to open a space larger than the skylight frame itself to work comfortably. Check the timber underlay and look for signs of damp or decay. If anything feels soft, it’s best to replace it now before going further. This step is especially important when installing skylights in existing roof structures — older roofs may need reinforcement before you proceed.
Step 5: Cut the opening for the skylight
Once the area is clear and safe, mark the skylight outline and start cutting. Use pilot holes in each corner and connect them with a saw, staying just inside your lines. If you’re cutting through insulation or foil, slice neatly — you’ll need to reseal around it later. Always double-check your cuts. Clean, square edges are crucial for a solid, watertight fit. A good opening makes the rest of your roof skylight framing much easier.
Step 6: Install the skylight frame securely
Now that the opening is ready, set the skylight frame into place from the outside. Make sure it fits snugly — no forcing. Use the screws or brackets provided in the kit to fix it to the rafters or battens. The frame must sit completely level and flush with the roof. Even a small tilt can affect drainage. If you’re installing skylights in existing roof structures, double-check that the inner edge of the frame lines up with your ceiling finish — this makes the interior work much easier later.
Step 7: Seal the skylight to prevent leaks
Use flashing tape around all sides of the frame first — press it in firmly and smooth out any bubbles. After that, run a bead of waterproof sealant along the top and sides, especially in the corners. This is the most critical component for long-term performance. Don’t rush. Take a flashlight and look closely from inside — even a small gap can let in water over time. Sealing is where many adding skylights jobs go wrong, so it’s worth the extra attention.
Step 8: Attach the flashing kit around the skylight
Flashing protects your skylight from Dutch rain and wind. Begin with the lower area, then work your way up to the sides, and finally to the top. Each layer should overlap the one before. Use the flashing kit that matches your roof tile type.
Most Dutch homes have curved ceramic or flat concrete tiles, and both need flexible flashing skirts. Press them tightly around the frame and form them to the tile shape using your hands or a rubber mallet. This creates a tight fit that lets water flow around the skylight rather than under it.
Step 9: Test for water-tightness
It’s a good idea to test everything before closing it up. Use a garden hose and spray water steadily over the skylight, especially near the top corners and sides. Go inside and check the frame, ceiling and insulation area for any moisture. This simple step can save you major repairs later.
It’s especially important in older homes, where roof angles aren’t always consistent and may affect how water drains. If there’s a leak, stop, dry the area, and reseal before moving on.
Step 10: Finish the interior and exterior trims
Inside the house, insulate around the skylight opening using mineral wool or rigid foam. Don’t block the airflow path — a little space helps prevent condensation. Then install plasterboard or wood panelling, depending on your ceiling type. On the roof, re-lay the tiles around the flashing. You might need to cut some to fit neatly around the unit.
Check that water can flow down freely — no gaps, no pooling. Once finished, clean the area, remove debris, and inspect your work. A clean skylight install looks simple and works reliably — like it was always part of the roof.
CBS Renovation Will Help You Install Skylights For Your Home in Netherlands
Installing skylights is not a simple DIY project. It requires experience, knowledge of roof structures, and an understanding of how to handle Dutch building materials in a damp climate. That’s where CBS Renovation comes in.
We’re a Renovation Company with over 18 years of experience working on homes across the Netherlands — from Amsterdam and Utrecht to smaller towns where traditional roofs meet modern upgrades. Whether you’re thinking of installing skylight windows in a converted attic, or planning to add a skylight to your home as part of a larger project we take care of the entire process. Our team provides:
- Individual planning and support based on roof type and slope;
- Proper roof skylight framing to fit the existing structure;
- Careful preparation and sealing to avoid leaks;
- Clean, professional skylight installation from start to finish;
- Smart skylight placement on roof for optimal light and heat balance;
- Integration into larger projects like a house extension or roof upgrade;
- Interior trim work for a polished, finished result.
We aim to deliver practical results that match the way you live — with more natural light, better air, and rooms that simply feel better to spend time in. Whether you’re renovating an attic or building a new space, our crew is ready to support your plans with reliable, long-lasting results.
Conclusion
Skylights can completely change how your home feels. They bring in natural light, improve airflow, and make small or dark rooms more pleasant to use. In a country like the Netherlands, where daylight is a valuable resource, well-designed new skylight installation can make a big difference in everyday comfort.
But to really benefit from skylights, it’s important to think through the details — from choosing the right location to sealing everything properly. If you’re not sure how to put in skylights, or you’re exploring ways to improve natural light as part of a home renovation, our team can help.
Whether you’re planning to add skylight to roof in a single room or looking at larger upgrades, we guide you through the process step by step. We combine practical solutions with thoughtful design — helping you make better use of your space while keeping your home warm, dry, and full of light.


